
How to Create Posts
Step 1:
In the navigation panel, click the option labeled “Posts”

Step 2:
Under the Posts tab, click the option labeled “Add New”

Step 3:
“Add title” is where you will input the title of the new post
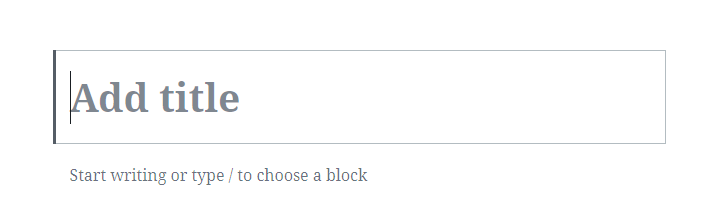
Step 4:
Below the “Add title” box will be a block for writing content for the new post
- Anything placed here will appear in the post
Step 5:
Once you have finished inputting content, click the red “Publish” button on the upper right side of the page to publish the post
- WordPress will notify you that the new post was successfully published

Step 6:
Click the link “View post” to view the published post